Why high-resolution AI changes what you can see
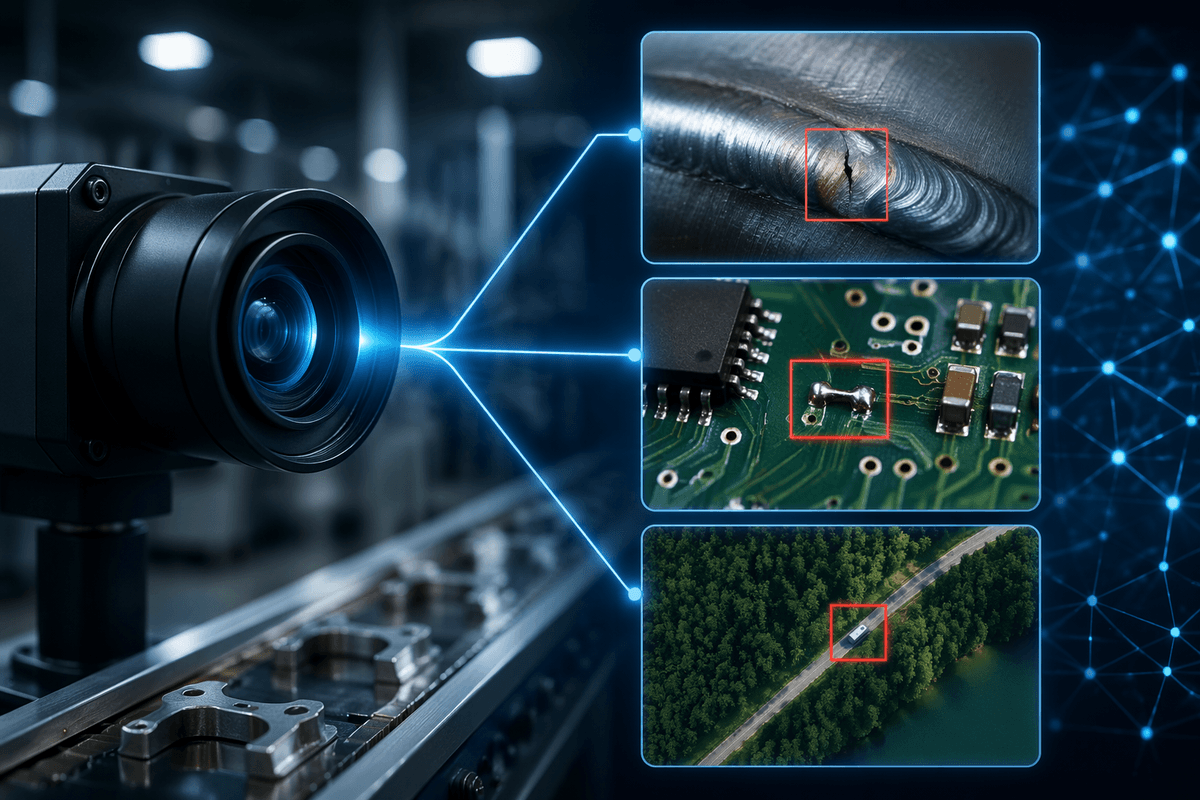
A familiar failure mode in visual AI is “it’s in the image, but not in the model.” On a factory line that can mean missing a hairline crack; in medical support it can mean blurring a tiny lesion into background texture; in security footage it can mean a distant object collapsing into a few pixels. High-resolution models change the problem by preserving small details long enough for the network to use them, rather than forcing an early downsample that deletes evidence.
The practical shift is less about sharper pictures and more about measurable signals: edge continuity, micro-texture, fine boundaries, and small-object geometry. That added information can help a model separate “similar-looking” classes that differ only in subtle patterns, and it can reduce the need for aggressive heuristics like over-smoothing or heavy post-processing.
Higher resolution increases activation memory, bandwidth, and inference time, and it can expose gaps in your labeling process (annotators can’t reliably mark what they can’t consistently see or agree on). If the decision you need doesn’t depend on fine structure, you may pay those costs without gaining a more reliable outcome.
When more pixels actually improves decisions (and when it doesn’t)

In practice, extra pixels help most when the decision boundary is literally small. If you’re deciding whether a weld has porosity, whether a PCB trace is bridged, whether a satellite image contains a narrow road, or whether a scan shows a tiny “new” finding, higher resolution raises the odds that the evidence survives preprocessing and compression. It also helps when localization matters: tight boxes, clean masks, or measurements like width and spacing get less noisy when edges aren’t smeared.
More pixels don’t help when the label is driven by global context or low-frequency cues, like “is this package present,” “is this area occupied,” or “is this crop generally stressed.” If the camera is out of focus, motion-blurred, or pointed at the wrong angle, higher resolution mostly amplifies the same uncertainty. There’s also a ceiling: if operators can’t agree on what counts as a defect at 200% zoom, the model won’t become consistent just because the inputs are bigger.
The hidden costs: memory, latency, and throughput trade-offs
A common surprise is how quickly “just doubling resolution” becomes a hardware and schedule problem. Activation memory typically grows with the number of pixels, so a 2× increase in width and height can push you toward ~4× the memory footprint for intermediate feature maps, not counting larger batches or multi-frame inputs. That shows up as smaller batch sizes, more frequent out-of-memory errors, and higher cloud bills—or a forced move to bigger GPUs.
Latency can also jump in ways product teams feel immediately. If the model runs on the edge, you may miss real-time deadlines because compute scales with pixel count and because moving larger frames through the system stresses memory bandwidth. If it runs centrally, uplink and decode time become part of the “AI latency,” especially for video.
Throughput is the quiet trade-off: a line that used to process 60 frames per second might drop to 15–20, which can break sampling assumptions and alerting logic. The operational question isn’t “can we run it,” but “can we run it at the rate the business needs.”
End-to-end pipeline choices: crop, tile, or full-frame?
Most teams don’t “go high-res” in one step; they choose where resolution lives in the pipeline. Cropping is the simplest: detect or locate a region of interest, then run a heavier model only on that patch. It works well when the object is reliably found and centered (a known part on a fixture, a lesion candidate, a license plate), but it can fail quietly when the upstream locator drifts, clipping the evidence you care about.
Tiling keeps detail across a large scene by splitting the frame into overlapping windows. It catches small objects anywhere, yet it adds glue work: stitching predictions, handling duplicates at tile borders, and managing edge artifacts where context is missing. Full-frame high-res avoids these integration headaches and preserves global context, but it’s the most punishing on memory, latency, and bandwidth—often forcing lower frame rates or more expensive hardware.
A practical rule is to match the method to what’s stable: stable placement favors crops, unpredictable placement favors tiles, and decisions that need both tiny detail and broad context earn full-frame.
Making high-res models fast: tricks that actually work
You’ll often see the bottleneck shift from “model math” to “moving data around,” especially with tiles and multi-camera setups. Simple wins start there: decode and resize efficiently, avoid unnecessary color conversions, and keep frames in GPU memory once they arrive. Teams also get real speedups by lowering precision (FP16/BF16) and using an inference engine that fuses operations and picks optimized kernels; the accuracy impact is usually small, but it needs a targeted check on rare, borderline cases.
Architectural choices matter more than most tuning. A two-stage setup—cheap locator, expensive high-res verifier—usually beats running one large model everywhere. If tiling is required, overlap only as much as your smallest target needs, and suppress duplicates with consistent rules so downstream logic stays stable. Distillation (training a smaller model to mimic a high-res teacher) can preserve much of the gain while cutting latency, but it adds training time and can fail if your teacher’s errors are systematic.
Data and labels at high resolution: quality problems scale too
Zooming in often exposes an awkward truth: the “ground truth” was never that precise. At high resolution, annotators start facing borderline calls—where a crack begins, whether a faint spot is a defect or lighting, whether a boundary should follow texture or intensity. Teams see label drift between shifts, vendors, or sites, and small inconsistencies turn into large training signals when masks and boxes get more detailed. If you don’t tighten definitions, the model learns your annotation style instead of the underlying condition.
The data pipeline also gets heavier. Higher-res images make storage, versioning, and review slower, and quality checks that were optional—focus, motion blur, compression artifacts, sensor noise—become first-order because the model will latch onto them. A practical fix is to budget for “label ops”: clearer rubrics, double-labeling a small slice, and targeted audits on the rare cases you most care about, even if it delays the rollout.
How to validate the upgrade: metrics beyond top-line accuracy
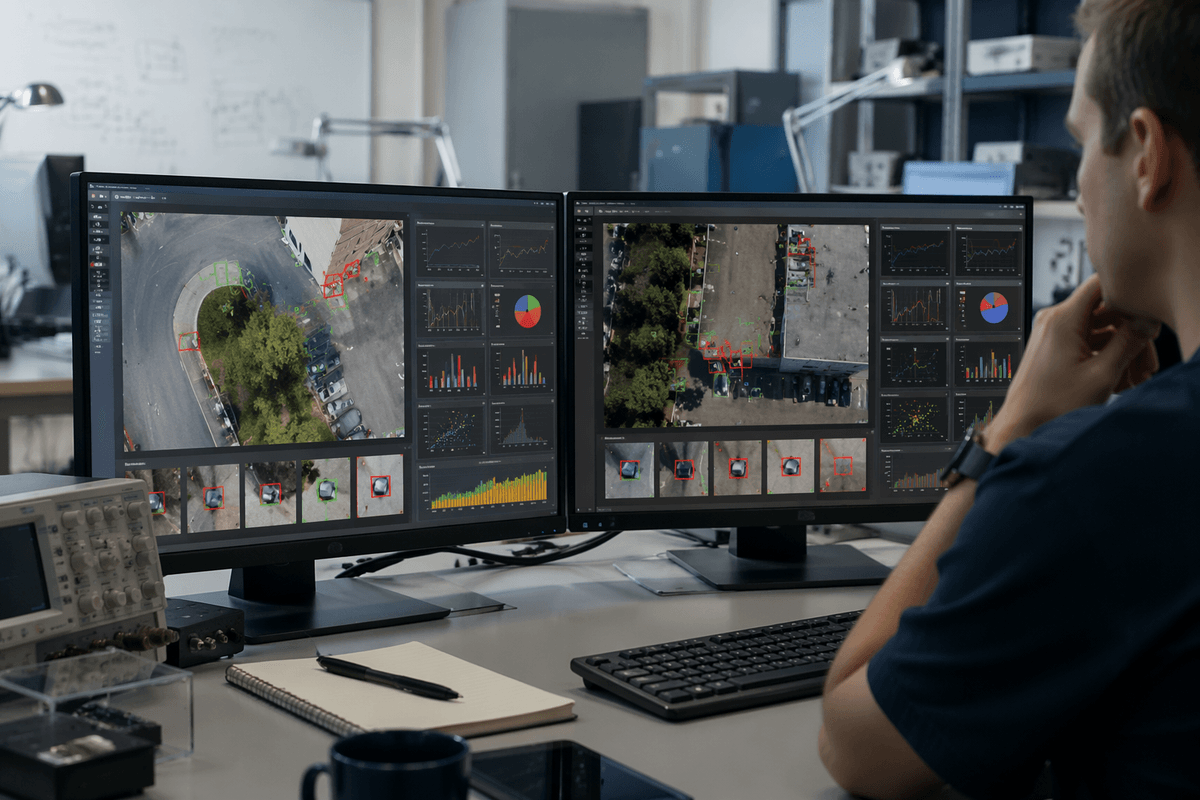
A high-res upgrade can look “better” in a demo while making the product less reliable in production. Start by checking where the gains land: performance by object size, by edge proximity (tile borders and crops), by site or camera, and by the rare classes you actually act on. For detection and segmentation, add boundary-focused measures (IoU on small objects, contour error, or distance-to-boundary stats) so you can see whether sharper detail improves localization or just changes confidence scores.
Operational metrics matter as much as model metrics. Track false-alarm rate at the threshold you can staff, time-to-decision, frames dropped, and the percent of cases routed to manual review. Then run an “impact replay”: compare downstream outcomes (rework avoided, escalations, missed incidents) on the same historical set. The practical cost is building this evaluation harness; without it, teams often ship a slower system that looks more accurate only because it flags more things.
A practical adoption path: start small, scale with confidence
A sensible rollout usually starts with a narrow “detail-dependent” slice: one defect type, one camera, one clinic protocol, or one satellite area where misses are costly and evidence is genuinely small. Run high-res as a shadow model first, logging disagreements with the current system and measuring not just accuracy, but review workload, alert volume, and end-to-end latency. Expect some back-and-forth on labels; higher resolution often forces tighter definitions and occasional re-annotation.
Once the case is proven, scale by limiting where high-res runs. Use cheap gating (a locator, motion/blur checks, or confidence thresholds) to send only uncertain frames to the heavier path, and keep full-frame high-res as the exception, not the default. Lock a performance budget—GPU memory, frames per second, and acceptable queue time—before adding more sites. Treat resolution as a product knob you can tune per deployment, not a one-time upgrade.